I started working at a fabric shop recently.
Last Friday we had a "Spring Preview Party" and invited our shoppers on our email list to come after hours to get first dibs on our new spring fabrics.
It was a ton of fun! All the employees were invited to choose some of the new spring fabrics to make something to have at the party.
I took in my
striped dress to share, and also took some beautiful coral pink linen to make something. I knew I'd only have the morning/afternoon of the day of the party to make something. So I decided to sew a couple of dresses for my nieces, as children's clothes was one of the comments a reader left in my last post.
Here is what I came up with. I am pretty happy with it!
Front
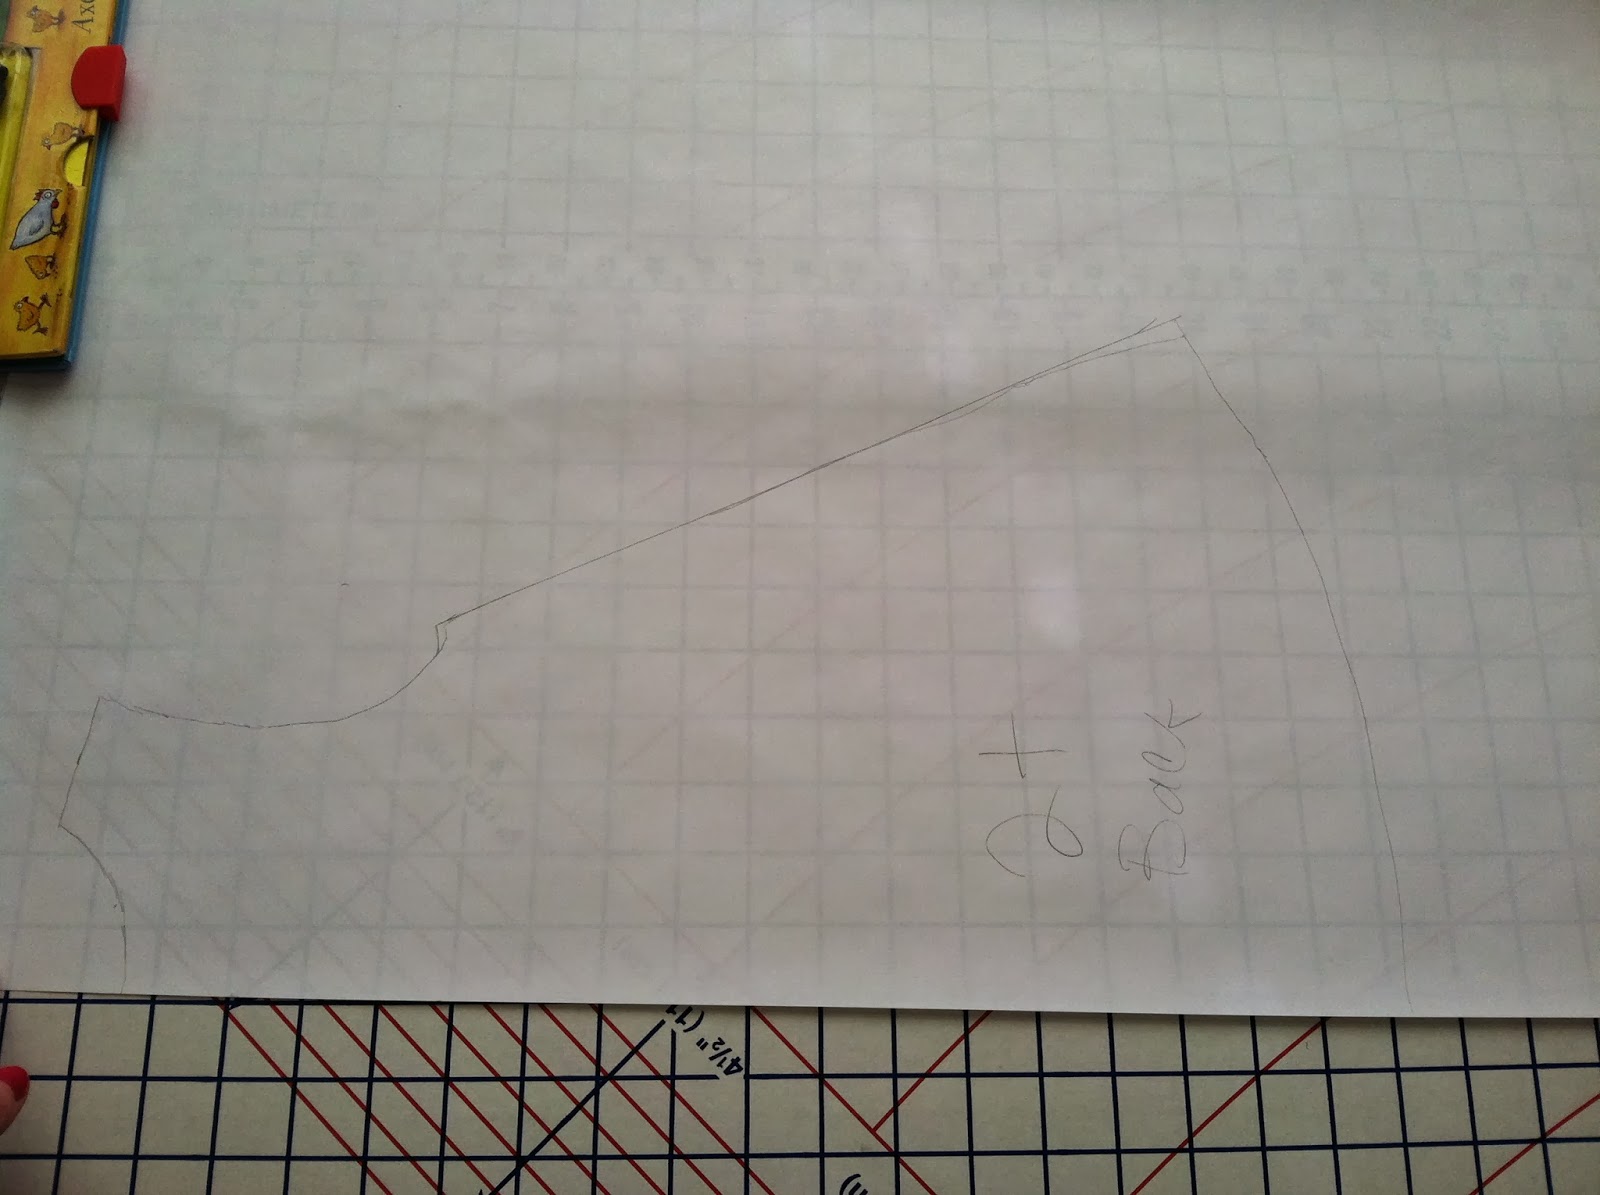
Back
The night of the party we had a fabulous group of shoppers. One of whom bought some linen for her baby girl, and who I promised I would post a tutorial here on my blog of how I made the dress since I didn't have a pattern I could refer her to.
Here is the tutorial on how I did it!
Taking a dress in my nieces size, I folded it exactly in half, lined up the folded side along the edge of my paper as best I could so that the folded side of the dress and the edge of the paper were lined up.
I traced from the neckline to the hem of the dress and was left with this:
Then I took a t-shirt and got to work on a sleeve.
I ever so carefully took the sleeve on a new area of my paper and folded the seam at the shoulder back to trace the curved seam where the sleeve seam joins with the shirt.
Then I laid it back down carefully and traced the outside edge from shoulder seam to armpit seam.
You end up with this:
NOW here is the tricky part:
I knew since my dress and tshirt were different garments. The armhole on the dress wouldn't necessarily match up with my sleeve. So I knew I had to measure.
I took my measuring tape and carefully followed along the shoulder seam of my sleeve with my measuring tape.
The curve where my arm hole would meet with the armhole of the dress was 15.5 cm.
I then measured the armhole on my dress. It HAS to be the SAME or SMALLER! Or it doesn't work. :)
My dress armhole was 14 cm. :) I had an armhole on my dress that was
smaller so I was okay.
NOW if you want a GATHERED sleeve head, then having the measurement longer on the sleeve is what you want. You just run some gathering stitches to gather the sleeve head to match up to your armhole and then ease in your sleeve to your dress like any other gathered sleeve you'd ever make from a store bought pattern.
I didn't want gathers for the look on my dress so I just took off the difference from the top of the sleeve.
I hope that makes sense. Here I am moving the top of my sleeve down.
Next I added seam allowances to my dress and sleeve patterns.
I put on a 1.5cm (the same as a 5/8inch) seam allowance.
I then copied my dress onto a scrap piece of paper tracing an exact copy.
Then I erased the neckline, and traced a new one so I could have a "front" to my dress.
You can see here I put both pieces together and one is longer at the neckline than the other. You want the one that is lower to be your "front" so the poor child you put in the dress doesn't feel like they are getting choked by their collar. :)
Okay the last step is making a "yoke" (the white area at the top of the dress). I measured down to about half of the armhole on my dress.
I used a ruler to measure a straight line. (Please excuse me if you are confused why I have two pattern pieces above and one that is not cut out below… The above pieces are the 2T size, the below I made a second pattern in a 3T size for another niece.)
***Cut the two pieces apart and MAKE SURE YOU ADD THE 1.5cm seam allowance to where you have just cut off the yoke from the body of the dress!!!! (I was worried you wouldn't, and had I thought about it, and how confusing that might have been for the tutorial I would have fixed it beforehand. So sorry!!!)
Do this for both the FRONT and BACK of the dress.
Now you can actually throw one of the "body" pieces of the dress away. The body of the dress you just cut off the yoke from, the one you just added seam allowances to the cut line? Yeah that one, it's the same on the bottom for front and back. So you just need one! :)
*One more thing.
You'll notice my dress I decided to add a white band and more grey trim to the bottom. I like it this way. If you want to do that you just cut off a band from your pattern and add seam allowanced to where you cut from. and just cut the middle of the pattern in pink, and the yoke and bottom band in white. Or whatever color scheme you've chosen. :)
Okay here is where I didn't get pictures. The back yoke you need to add extra seam allowance to allow for a button placket. So you have an area in the back you can add a button closure so you can slip the dress on and off the babies head, then button it closed. I hope that makes sense.
Here are your 4 pattern pieces!
(I am sharing this because here is where I forgot that the top of the sleeve didn't need seam allowance. You cut it on the fold. Make sure you catch that if you didn't before. Also mark the front yoke you cut on the fold, mark the dress body you cut on the fold. mark the top of the sleeve you cut on the fold.)
Like I said, the top of the sleeve you need to cut off any seam allowance you may have added. (Ay yi yi, I learned a lot from making this tutorial.)
I added even more length for my button placket at the back. I wanted lots of room.
Okay by this point I didn't have time to take pictures of sewing the items up.
However, I did use some grey rayon seam binding as a decorative trim on my dress. It looks black in the picture because I didn't have my amazing photographer here to take pics for me. It's actually really trimmed in grey and I really like how it turned out!
*Just a note: Don't use seam binding. It was really hard. It doesn't curve like biased binding does.
Save yourself the trouble and if you want to trim the dress in a fun color, make or buy bias binding! It will make your life much much easier.
Or use the seam binding for something decorative that doesn't require curving it around the neckline. For reals though.
I felt like the dress needed just a little something more, so I also added the three tiny buttons down the front of the dress.
I thought it turned out really cute!
Okay so now that I have written that first tutorial, if you were the sweet lady who came in and bought the linen, feel free to contact me with any questions. You can just come into the shop and I can help you. :) Or you are always welcome to leave comments for me or whatnot.
With this being my first tutorial ever, and you may just want to bring your fabric and a dress or tshirt in the size you need in and I will help you draft the pattern.
Whew! I think making the pattern and dress was quicker than writing the blog post!
I think I need some ice cream and a nap.
Until later!
-Emily


